SpringCloud Consul Registry Integration
In this doc, we will demonstrate integrating Spring Cloud Consul microservices into the service mesh and testing the commonly used canary release scenario.
Demo Application
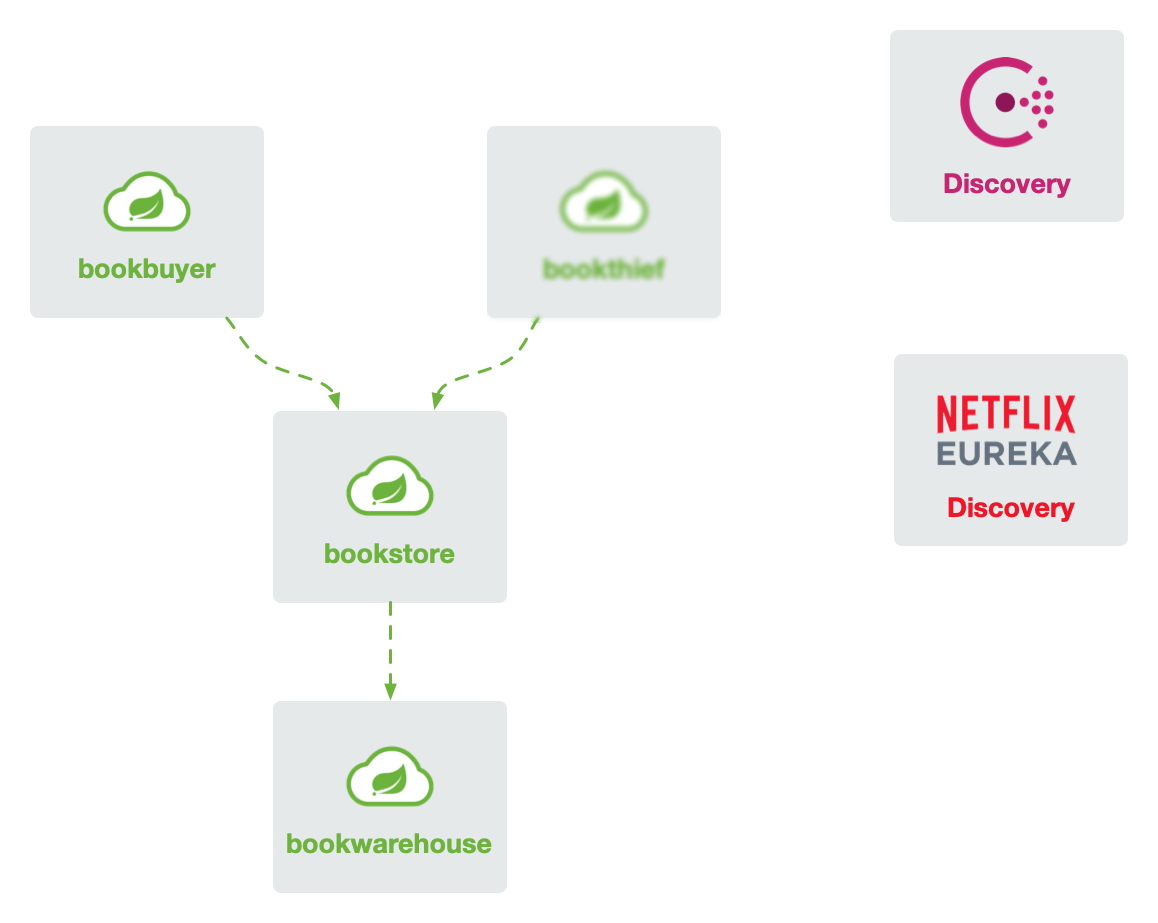
For the demonstration of Spring Cloud microservices integration into the service mesh, we have rewritten the classic BookStore application https://github.com/flomesh-io/springboot-bookstore-demo.
The application currently supports both Netflix Eureka and HashiCorp Consul registries (switchable at compile time), and specific usage can be referred to in the documentation.

Prerequisites
- Kubernetes cluster
- kubectl CLI
- FSM CLI
Initialization
First, clone the repository.
git clone https://github.com/flomesh-io/springboot-bookstore-demo.git
Then deploy Consul using a single-node instance for simplicity.
kubectl apply -n default -f manifests/consul.yaml
Deploying FSM
Deploy the control plane and connectors with the following parameters:
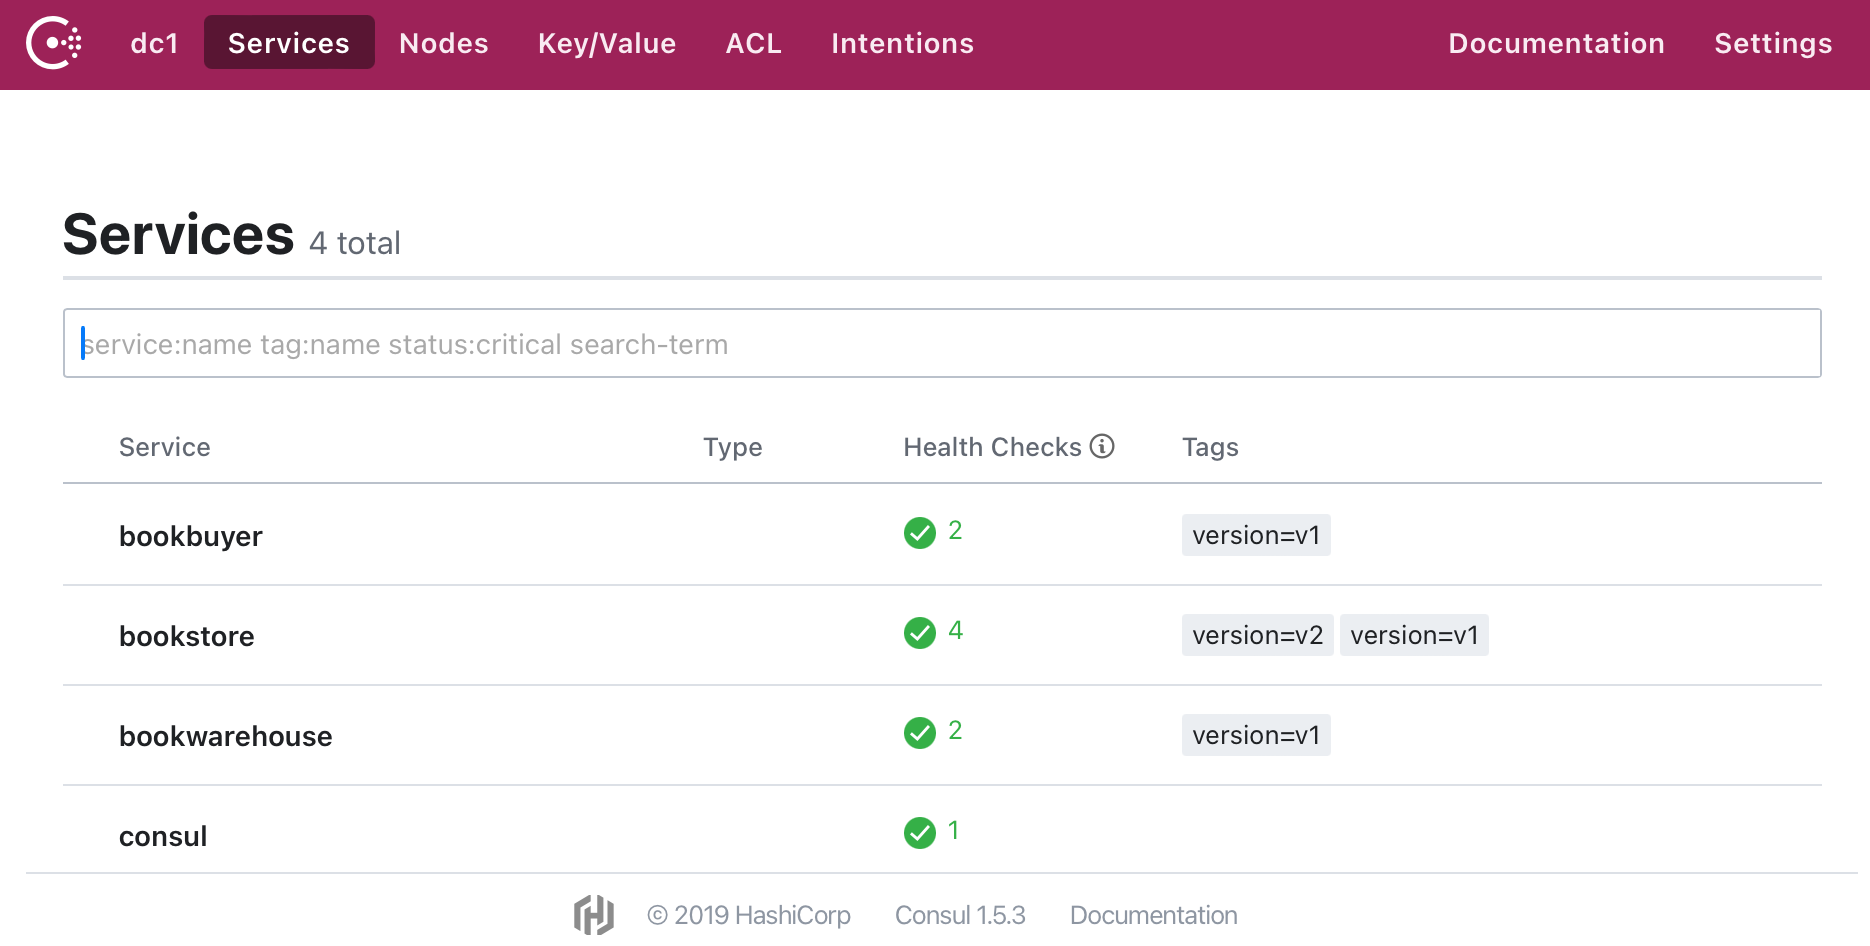
fsm.serviceAccessMode: The service access mode,mixedindicates support for accessing services using both Service names and pod IPs.fsm.deployConsulConnector: Deploy the Consul connector.fsm.cloudConnector.consul.deriveNamespace: The namespace where the encapsulated Consul services as K8s Services will reside.fsm.cloudConnector.consul.httpAddr: The HTTP address for Consul.fsm.cloudConnector.consul.passingOnly: Synchronize only the healthy service nodes.fsm.cloudConnector.consul.suffixTag: By default, the Consul connector creates a Service in the specified namespace with the same name as the service. For canary releases, synchronized Services for different versions are needed, such asbookstore-v1,bookstore-v2for different versions ofbookstore. ThesuffixTagdenotes using the service node’stagversionvalue as the service name suffix. In the example application, the version tag is specified by adding the environment variableSPRING_CLOUD_CONSUL_DISCOVERY_TAGS="version=v1"to the service nodes.
export fsm_namespace=fsm-system
export fsm_mesh_name=fsm
export consul_svc_addr="$(kubectl get svc -l name=consul -o jsonpath='{.items[0].spec.clusterIP}')"
fsm install \
    --mesh-name "$fsm_mesh_name" \
    --fsm-namespace "$fsm_namespace" \
    --set=fsm.serviceAccessMode=mixed \
    --set=fsm.deployConsulConnector=true \
    --set=fsm.cloudConnector.consul.deriveNamespace=consul-derive \
    --set=fsm.cloudConnector.consul.httpAddr=$consul_svc_addr:8500 \
    --set=fsm.cloudConnector.consul.passingOnly=false \
    --set=fsm.cloudConnector.consul.suffixTag=version \
    --timeout=900s
Next, create the namespace specified above and bring it under the management of the service mesh.
kubectl create namespace consul-derive
fsm namespace add consul-derive
kubectl patch namespace consul-derive -p '{"metadata":{"annotations":{"flomesh.io/mesh-service-sync":"consul"}}}'  --type=merge
Configuring Access Control Policies
By default, services within the mesh can access services outside the mesh; however, the reverse is not allowed. Therefore, set up access control policies to allow Consul to access microservices within the mesh for health checks.
kubectl apply -n consul-derive -f - <<EOF
kind: AccessControl
apiVersion: policy.flomesh.io/v1alpha1
metadata:
  name: consul
spec:
  sources:
  - kind: Service
    namespace: default
    name: consul
EOF
Deploying Applications
Create namespaces and add them to the mesh.
kubectl create namespace bookstore
kubectl create namespace bookbuyer
kubectl create namespace bookwarehouse
fsm namespace add bookstore bookbuyer bookwarehouse
Deploy the applications.
kubectl apply -n bookwarehouse -f manifests/consul/bookwarehouse-consul.yaml
kubectl apply -n bookstore -f manifests/consul/bookstore-consul.yaml
kubectl apply -n bookbuyer -f manifests/consul/bookbuyer-consul.yaml

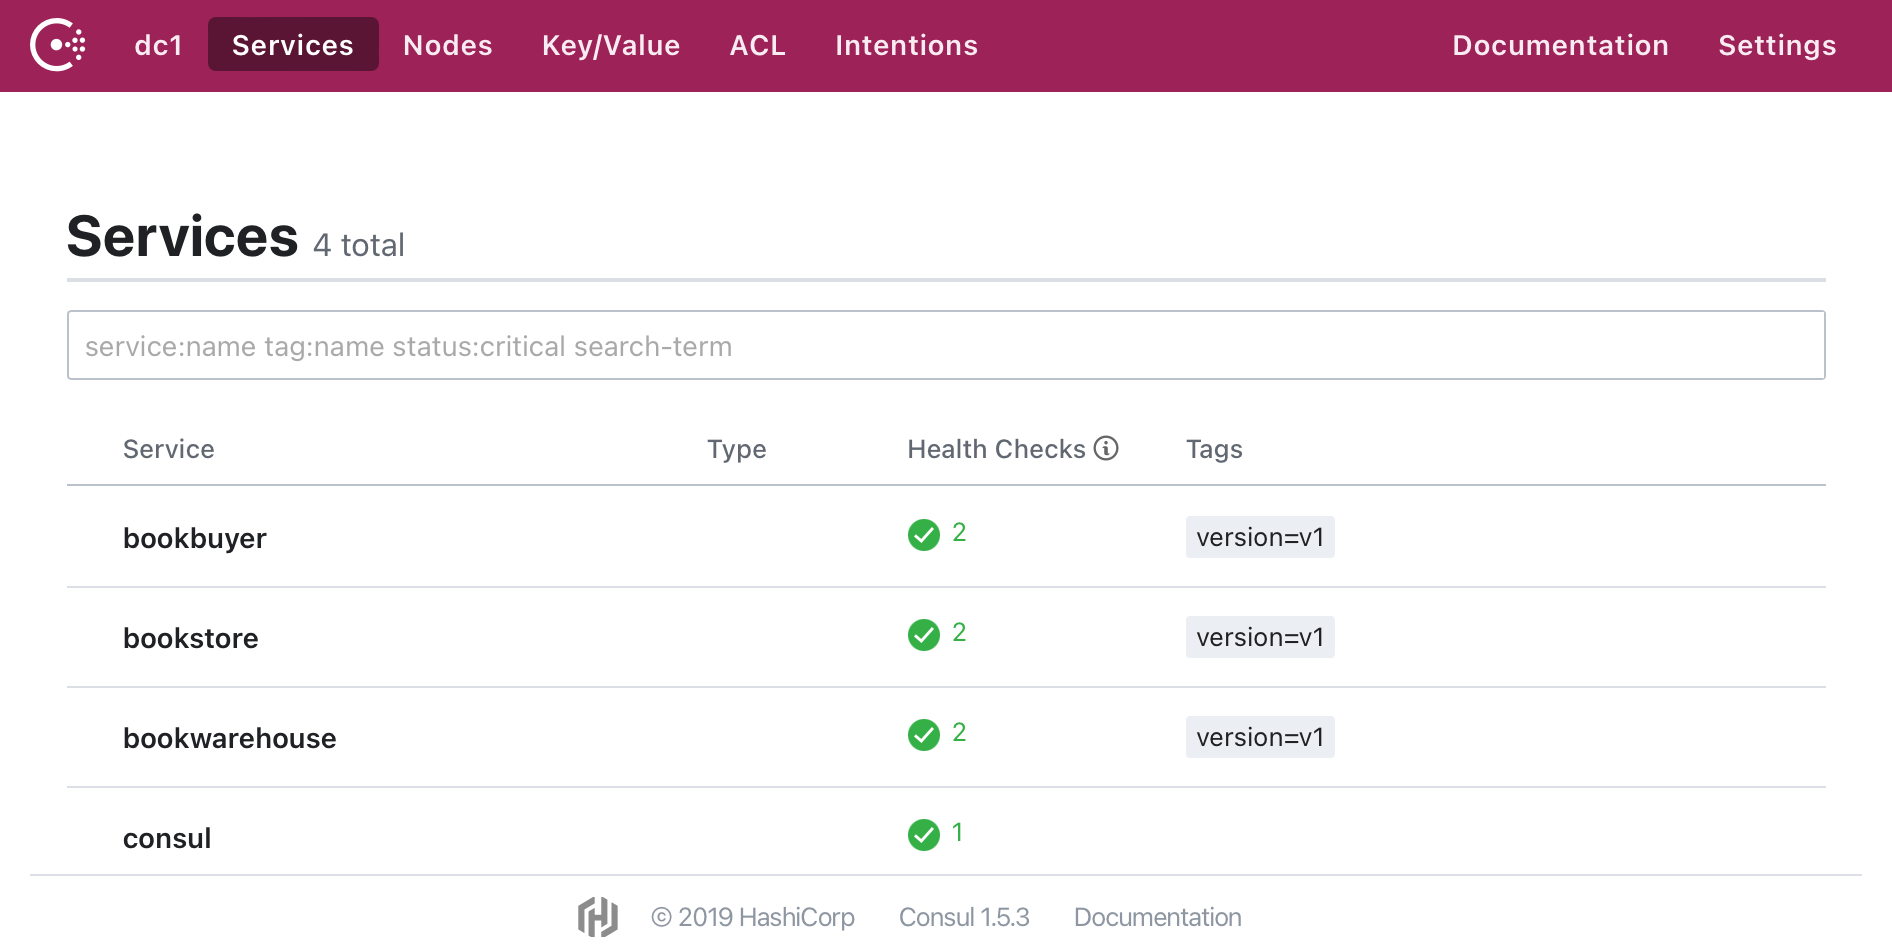
In the consul-derive namespace, you can see the synchronized Services.
kubectl get service -n consul-derive
NAME               TYPE        CLUSTER-IP   EXTERNAL-IP   PORT(S)     AGE
bookstore          ClusterIP   None         <none>        14001/TCP   8m42s
bookstore-v1       ClusterIP   None         <none>        14001/TCP   8m42s
bookwarehouse      ClusterIP   None         <none>        14001/TCP   8m38s
bookwarehouse-v1   ClusterIP   None         <none>        14001/TCP   8m38s
bookbuyer          ClusterIP   None         <none>        14001/TCP   8m38s
bookbuyer-v1       ClusterIP   None         <none>        14001/TCP   8m38s
Use port forwarding or create Ingress rules to view the running services: the page auto-refreshes and the counter increases continuously.

Canary Release Testing
Next is the common scenario for canary releases. Referencing FSM documentation examples, we use weight-based canary releases.
Before releasing a new version, create TrafficSplit bookstore-v1 to ensure all traffic routes to bookstore-v1:
kubectl apply -n consul-derive -f - <<EOF
apiVersion: split.smi-spec.io/v1alpha4
kind: TrafficSplit
metadata:
  name: bookstore-split
spec:
  service: bookstore
  backends:
  - service: bookstore-v1
    weight: 100
  - service: bookstore-v2
    weight: 0
EOF
Then deploy the new version bookstore-v2:
kubectl apply -n bookstore -f ./manifests/consul/bookstore-v2-consul.yaml

At this point, viewing the bookstore-v2 page via port forwarding reveals no change in the counter, indicating no traffic is entering the new version of the service node.
Next, modify the traffic split strategy to route 50% of the traffic to the new version, and you will see the bookstore-v2 counter begin to increase.
kubectl apply -n consul-derive -f - <<EOF
apiVersion: split.smi-spec.io/v1alpha4
kind: TrafficSplit
metadata:
  name: bookstore-split
spec:
  service: bookstore
  backends:
  - service: bookstore-v1
    weight: 50
  - service: bookstore-v2
    weight: 50
EOF
Continue adjusting the strategy to route 100% of the traffic to the new version. The counter for the old version bookstore-v1 will cease to increase.
kubectl apply -n consul-derive -f - <<EOF
apiVersion: split.smi-spec.io/v1alpha4
kind: TrafficSplit
metadata:
  name: bookstore-split
spec:
  service: bookstore
  backends:
  - service: bookstore-v1
    weight: 0
  - service: bookstore-v2
    weight: 100
EOF
Feedback
Was this page helpful?
Glad to hear it! Please tell us how we can improve.
Sorry to hear that. Please tell us how we can improve.